A water heater is an indispensable appliance in any modern home, ensuring a steady supply of hot water for various daily tasks. Whether you are considering a new water heater installation or upgrading your existing unit, it’s imperative to execute the process efficiently and effectively to ensure optimal performance. In this in-depth guide, we will walk you through the steps to install a water heater in your Redmond home. From choosing the right water heater to completing the installation, we’ve got you covered, all while keeping an eye on the important aspect of HVAC system integration.
1. Choose the Right Water Heater
Factors to Consider
Selecting the right water heater is the foundational step in ensuring you have a reliable and efficient hot water supply in your Redmond home. Here are some factors to consider:
- Type of Water Heater: The first decision you need to make is whether to opt for a traditional storage-tank water heater or a tankless unit. Tankless water heaters, also known as on-demand water heaters, are energy-efficient and provide hot water instantly. They are known for their space-saving design and can be an excellent choice for smaller homes.
- Fuel Source: The fuel source of the water heater is another crucial consideration. You can choose from electric, natural gas, propane, or even solar-powered water heaters. The choice often depends on the availability of specific fuel sources in your area and your personal preferences.
- Size and Capacity: Properly sizing your water heater is essential to meet your household’s hot water demands. Calculate the required size and capacity based on factors like the number of occupants, the number of bathrooms, and simultaneous hot water requirements. A water heater that is too small may leave you with insufficient hot water, while an oversized unit can lead to unnecessary energy consumption.
When choosing a water heater, it’s vital to align your selection with your specific needs, available resources, and energy efficiency goals, taking your HVAC system into account.
2. Prepare for Installation
Key Preparations
Before initiating the installation process, there are several essential preparatory steps to undertake:
- Location: Begin by selecting an appropriate location for your new water heater. It should be easily accessible for maintenance, have proper ventilation, and be in close proximity to the water and gas or electric supply lines. Ventilation is particularly important to ensure the safe operation of your water heater.
- Permits and Codes: Check with your local building department to determine if you need any permits for the installation. Also, ensure that your installation adheres to the relevant building codes and safety standards in your area. Compliance with these codes is not only essential for safety but can also affect your insurance coverage.
- Shut Off Utilities: To prepare for the installation, you’ll need to shut off the electricity or gas supply to your old water heater. Additionally, shut off the main water supply to your house to prevent water from flowing into the old unit while you disconnect it.
Proper preparation is the key to a smooth and safe installation process, so ensure you’ve taken all these steps into account.
3. Gather the Required Tools and Materials
Essential Tools and Materials
Having the right tools and materials at your disposal is crucial to complete the installation without interruptions. Here’s a list of the essential items you’ll need:
- Adjustable Wrench: An adjustable wrench is a versatile tool that will be used for tightening and loosening various plumbing connections.
- Pipe Wrench: This tool is necessary for working with pipes and fittings. It is essential for securing water and gas connections to your water heater.
- Tubing Cutter: A tubing cutter is used to cut copper or PEX tubing to the required lengths.
- Pipe Cutter: A pipe cutter is essential for cutting and threading pipes when installing gas water heaters.
- Pipe Thread Sealant: Pipe thread sealant, also known as pipe dope, is used to create a watertight and airtight seal between threaded connections.
- Teflon Tape: Teflon tape is used to seal pipe threads and prevent leaks in threaded connections.
- Pressure Relief Valve: A pressure relief valve is a safety device that is installed on the water heater to release excess pressure and prevent the tank from bursting.
- Copper or PEX Tubing: Copper or PEX tubing is used to connect the hot and cold water supply lines to the water heater.
- Gas Flex Line (if applicable): If you have a gas water heater, you will need a gas flex line to connect it to the gas supply.
- Piping and Fittings: You may need additional piping and fittings to connect the water heater to the water and gas supply lines. The specific type and quantity will depend on your installation.
- Thermocouple (for gas water heaters): The thermocouple is a safety device that detects the presence of a pilot flame in gas water heaters. It’s a crucial component for gas water heater installations.
- PVC Vent Pipes (for high-efficiency units): High-efficiency gas water heaters often require PVC vent pipes to expel exhaust gases safely.
Having these tools and materials ready will ensure that the installation process proceeds smoothly and efficiently.
4. Drain and Disconnect the Old Water Heater
Steps to Follow
Removing the old water heater is a crucial step in the installation process, and it must be done with care to prevent any damage or accidents. Here’s how to go about it:
- Turn Off Utilities: Before beginning the removal process, ensure that the gas or electricity supply to the old water heater is switched off. This is vital for safety.
- Drain the Tank: To prevent water spillage during removal, connect a garden hose to the drain valve at the base of the old water heater. Direct the hose to a drain or suitable location and open the valve to drain the tank. Be cautious, as the water may be scalding hot.
- Disconnect the Water and Gas Lines: Use the appropriate wrenches to disconnect the water and gas supply lines from the old unit. Ensure that you have a bucket and towels handy to catch any remaining water and to mop up any spills. For gas water heaters, it’s crucial to turn off the gas supply valve and disconnect the gas line safely.
- Disconnect Electrical Connections: If your home has an electric water heater, disconnect the electrical wiring. Ensure the power is completely off by checking the circuit breaker or fuse box. For gas water heaters, disconnect the thermocouple that detects the pilot flame.
Taking these steps carefully when removing the old water heater ensures that the process is safe and effective.

5. Prepare the Installation Area
Preparation Steps
A well-prepared installation area is vital for the safety and longevity of your new water heater. Here’s what you should do:
- Clear the Area: Start by clearing the installation area of any obstacles and clutter. Make sure there is sufficient space for the new water heater.
- Install a Drip Pan: Place a drip pan underneath the new water heater to catch any potential leaks. This is particularly important if your water heater is located in a living space or an area where water damage could be a concern.
- Inspect Ventilation: Examine the ventilation in the installation area to ensure it meets safety requirements. Proper ventilation is essential to prevent the buildup of harmful gases, especially for gas water heaters.
By ensuring that the installation area is well-prepared, you can significantly contribute to the safe and efficient operation of your new water heater.
6. Install the New Water Heater
Installation Guidelines
Now that you’ve prepared the area and gathered your tools and materials, you’re ready to install the new water heater. Follow these guidelines to ensure a successful installation:
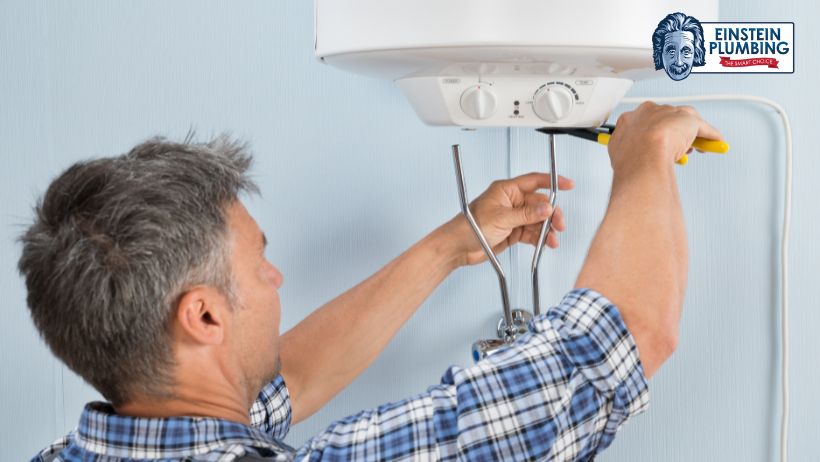
- Position the Unit: Carefully place the new water heater in the designated area. Ensure that it is level and stable, using shims or other supports if necessary. A level water heater is essential for efficient operation and longevity.
- Connect the Plumbing: Use the appropriate connectors, such as copper or PEX tubing, to connect the hot and cold water supply lines to the water heater. Apply Teflon tape and thread sealant to the threaded connections to prevent leaks. Ensure all connections are tight but not over-tightened, which can damage the fittings.
- Connect the Gas or Electrical Supply: Depending on the type of water heater, reconnect the gas line or electrical wiring. For electric water heaters, ensure that the electrical connections are secure and follow local electrical codes. For gas water heaters, connect the thermocouple and ensure it is properly positioned to detect the pilot flame.
- Ventilation: If you have a high-efficiency gas water heater, install the required PVC vent pipes according to the manufacturer’s instructions. Proper venting is essential for the safe operation of the unit.
- Pressure Relief Valve: Install a pressure relief valve according to the manufacturer’s specifications. The valve should be correctly connected and piped to prevent scalding water discharge.
The installation process should be executed diligently to guarantee a safe and efficient operation of your new water heater.
7. Test and Inspect
Post-Installation Checks
Now that the new water heater is in place, it’s time to conduct several post-installation checks to ensure everything is functioning correctly and that there are no safety hazards. Here’s what you need to do:
- Turn on Utilities: Gradually turn on the gas or electricity supply to the new water heater. Avoid sudden surges in power or gas flow, which can damage the unit.
- Check for Leaks: Inspect all connections for leaks, especially around the pressure relief valve and water supply lines. Look for any signs of water pooling or dripping. If you detect a leak, promptly turn off the utilities and address the issue before proceeding.
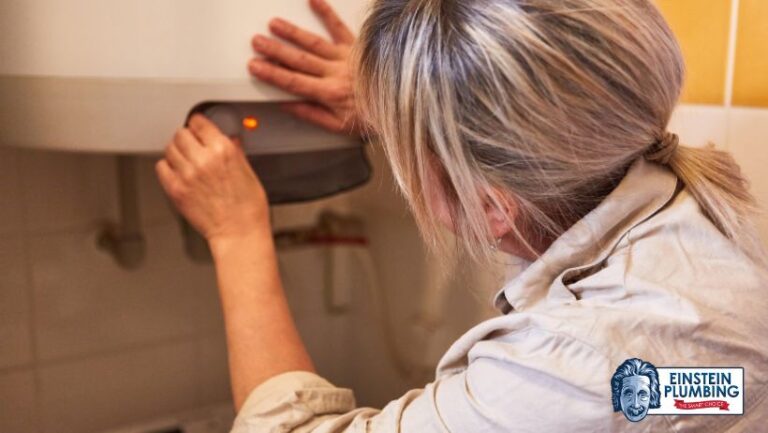
- Pilot Light Ignition (Gas Heaters): If you have a gas water heater, ensure the pilot light is properly ignited, and the burner is functioning. Gas water heaters require a consistent and well-lit pilot flame for efficient operation.
- Set the Temperature: Adjust the thermostat to your desired water temperature. Keep in mind that setting the temperature too high can result in scalding water, while setting it too low may not provide adequate hot water for your needs.
Testing and inspecting the newly installed water heater is crucial to confirm that everything is functioning correctly, and there are no safety concerns. It’s an essential step in the installation process that should not be overlooked.
8. Finalize the Installation
Concluding Steps
With the installation and testing complete, you’re nearly finished. However, there are a few remaining steps to ensure the long-term efficiency and safety of your water heater:
- Secure the Unit: To prevent accidental tipping, anchor the water heater to the floor using appropriate fasteners or straps. This is particularly important if your water heater is located in an area with the potential for seismic activity.
- Provide Insulation: If your water heater is situated in an unheated space, consider insulating the unit and the hot water lines. Insulation can help improve energy efficiency and prevent heat loss.
- Label the Breaker or Gas Valve: For future reference and safety, label the circuit breaker or gas valve that corresponds to the water heater. Clear labeling makes it easier to identify and shut off power or gas in case of maintenance or emergency.
- Keep Records: Maintain records of the installation date, warranty information, and any service or maintenance performed on the water heater. Proper record-keeping can be invaluable for future reference and warranty claims.
Finalizing the installation ensures that your water heater is well-secured, efficiently insulated, and easy to maintain. It contributes to the long-term efficiency and safety of your water heating system.
Conclusion
Installing a water heater in your Redmond home is a significant investment in your comfort and convenience. Proper installation not only guarantees a steady supply of hot water but also ensures the safety and efficiency of your HVAC system. Whether you opt for electric water heating solutions or other types, a well-executed installation is the key to long-term satisfaction and peace of mind. It’s a testament to your commitment to a reliable hot water supply, energy efficiency, and the well-being of your household. By following the steps outlined in this comprehensive guide, you can achieve a successful water heater installation that meets your specific needs and ensures a consistent source of hot water for years to come.
Choose Einstein Heating and Cooling for Efficient Electric Water Heating Solutions
When it comes to electric water heating solutions and ensuring your home’s comfort, Einstein Heating and Cooling stands as the trusted choice. With a team of experienced professionals, we are dedicated to providing top-notch service, making sure your electric water heating system is installed efficiently and functions flawlessly. We understand the importance of having a reliable source of hot water in your home and work tirelessly to ensure your water heating needs are met. Choose Einstein Heating and Cooling for excellence in service, unmatched expertise, and peace of mind, knowing that your electric water heating system is in capable hands.


