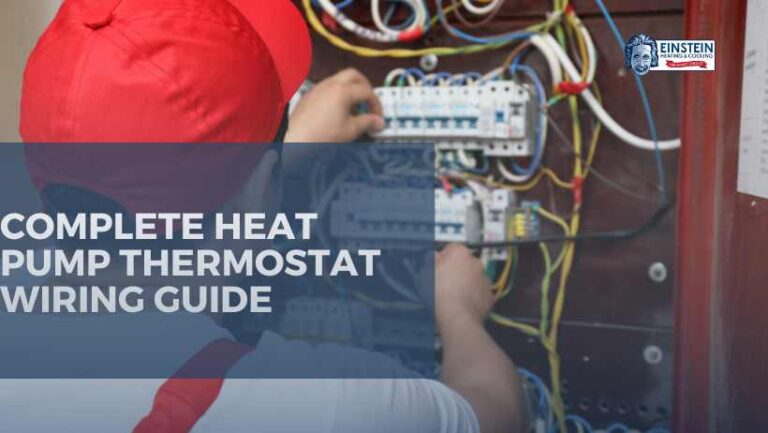
When it comes to heating and cooling systems, heat pumps have become increasingly popular. Proper installation and wiring of the thermostat are crucial for the optimal performance of a heat pump. In this extensive guide, we will discuss heat pump thermostat wiring, covering key factors to ensure a seamless and efficient operation.
1. Understanding the Basics of Heat Pump Thermostat Wiring
Voltage Compatibility
- Check the voltage requirements of your heat pump and thermostat.
- Ensure that the thermostat is compatible with the voltage supplied by the heat pump.
Thermostat Type
- Different heat pump systems may require specific thermostat types.
- Identify whether your system is a single-stage, multi-stage, or heat pump with auxiliary heating.
Wiring Labels
- Familiarize yourself with the wiring labels on both the heat pump and thermostat.
- Match the labeled wires to their corresponding terminals.
2. The Anatomy of Heat Pump Thermostat Wiring
Color Coding
- Understand the standard color codes for thermostat wires: red, white, green, yellow, and blue.
- Ensure consistency in wiring based on color-coding conventions.
Thermostat Terminals
- Recognize the terminals on the thermostat and their functions.
- Connect the wires to the appropriate terminals, such as R (power), W (heat), Y (cool), G (fan), and C (common).
When it comes to heat pump thermostat wirings, the first step is understanding the types of wires. Each wire serves a specific purpose, and comprehending their functions is vital.
- R Wire: Typically red, this wire connects to the 24-volt power supply, acting as the primary source of power for the thermostat.
- C Wire: Often blue or black, the common wire completes the circuit and ensures a continuous flow of power, contributing to stable and efficient thermostat operation.
- Y Wire: Represented by yellow, this wire connects to the compressor, initiating the cooling process during warmer temperatures.
- W Wire: White, this wire links to the heating system, activating the heat pump when the indoor temperature requires a warm boost.
- G Wire: Green in most cases, this wire connects to the fan relay, facilitating the circulation of air through the HVAC system.
- O/B Wire: Responsible for the reversing valve in heat pump systems, this wire often comes in orange or blue. It controls the switch between heating and cooling modes.
Mapping Out Wiring Connections
Thermostat Base Plate Installation
Attach the thermostat base plate to the wall, ensuring it is level. Use the included screws to secure it in place. Make sure there’s enough space for the wiring to reach the designated terminals on the base plate comfortably.
Matching Wires to Terminals
Match each labeled wire to its corresponding terminal on the thermostat base plate. The common color-coding convention is:
- Red (R) wire goes to the R terminal
- Yellow (Y) wire goes to the Y terminal
- White (W) wire goes to the W terminal
- Green (G) wire goes to the G terminal
- Blue (C) wire goes to the C terminal (if applicable)
Wiring Specifics
Connecting the R Wire
Connect the R (power) wire to the R terminal on the thermostat base plate. Ensure it is tightly secured to prevent any loose connections.
Attaching the Y Wire
Connect the Y (cooling) wire to the Y terminal. This wire is responsible for activating the cooling function of your heat pump system.
Securing the W Wire
Connect the W (heating) wire to the W terminal. This wire controls the heating function of your heat pump, activating it when needed.
Installing the G Wire
Attach the G (fan) wire to the G terminal. This wire controls the fan, ensuring proper air circulation when the system is in operation.
Common Wire Connection
Connect your system with a common wire (C) to the C terminal. The common wire completes the circuit and provides a continuous power supply to the thermostat.
3. Thermostat Wiring Configurations
Single-Stage Heat Pump Wiring
- Connect the wires according to the single-stage heat pump wiring diagram.
- Confirm proper functionality by testing the system.
Multi-Stage Heat Pump Wiring
- Follow the wiring diagram for multi-stage heat pumps.
- Ensure each stage is correctly connected to the thermostat.
Heat Pump with Auxiliary Heating
- Integrate the auxiliary heat wires into the thermostat wiring.
- Verify proper sequencing and operation of the auxiliary heating system.
4. Additional Considerations for Heat Pump Thermostat Wiring
Thermostat Location
- Install the thermostat in an optimal location for accurate temperature sensing.
- Avoid placement near drafts, heat sources, or direct sunlight.
Wiring Length and Insulation
- Keep thermostat wires at an appropriate length.
- Insulate exposed wires to prevent interference or heat loss.
Compatibility with Smart Thermostats
- Confirm compatibility between the heat pump and the chosen smart thermostat.
- Follow manufacturer guidelines for integration and wiring.
5. Troubleshooting Common Wiring Issues
Incorrect Wiring
- Double-check the wiring against the thermostat and heat pump diagrams.
- Rectify any misconnections to prevent system malfunctions.
Short Circuits
- Inspect the wiring for any exposed or damaged sections.
- Address and repair short circuits to avoid damage to the thermostat or heat pump.
Compatibility Issues
- Research and resolve any compatibility issues between the thermostat and heat pump.
- Consult the manufacturer or an HVAC technician if necessary.
6. Professional Installation vs. DIY
DIY Installation
- Assess your skills and knowledge in thermostat wiring.
- Follow the provided guidelines meticulously to ensure a successful heating system installation.
Professional Installation
- Consider hiring a certified HVAC technician for complex installations.
- Ensure compliance with local regulations and safety standards.
7. Energy Efficiency and Heat Pump Thermostat Wiring
Energy-Saving Features
- Explore the energy-saving features offered by modern thermostats.
- Utilize programmable settings to optimize temperature control and reduce energy consumption.
Heat Pump Zoning
- Consider implementing zoning in your heat pump system for enhanced efficiency.
- Zone control allows you to regulate temperatures in specific areas, optimizing comfort and energy use.
8. Future-Proofing Your Thermostat Wiring
Smart Home Integration
- Future-proof your thermostat wiring by choosing devices with smart home integration.
- Connect your thermostat to a smart home hub for remote control and automation.
Upgrading Thermostat Firmware
- Regularly check for firmware updates for your thermostat.
- Keep the software up-to-date to benefit from improvements, bug fixes, and new features.
9. Safety Measures in Heat Pump Thermostat Wiring
Turn Off Power
- Always turn off the power supply before beginning any thermostat wiring work.
- Use appropriate safety gear and tools to prevent accidents.
Voltage Checks
- Perform voltage checks to ensure there is no electrical current flowing through the wires.
- Use a multimeter to verify that the system is safe to work on.
10. Environmental Considerations
Disposal of Old Thermostats
- Follow proper disposal procedures for old thermostats.
- Some thermostats contain mercury, requiring special disposal methods to protect the environment.
Eco-Friendly Heating and Cooling
- Optimize your heat pump system for eco-friendly operation.
- Regular heat pump maintenance and efficient thermostat usage contribute to environmental sustainability.
11. Continuous Monitoring and Maintenance
Regular Inspections
- Schedule routine inspections of your thermostat wiring and heat pump system.
- Identify and address any issues promptly to prevent potential breakdowns.
Filter Replacements
- Replace air filters regularly to maintain optimal airflow and system efficiency.
- Clogged filters can strain the heat pump, reducing its effectiveness.
Check for Wear and Tear
- Inspect the thermostat wiring for any signs of wear and tear. Look out for frayed wires, exposed conductors, or any physical damage.
- If you spot any issues, it’s imperative to address them promptly to prevent further damage.
Ensure Tight Connections
- Make sure all the connections are secure. Loose connections can lead to disruptions in the heating process. Tighten any screws or terminals that may have become loose over time.
Examine Labels and Markings
- Take a closer look at the labels and markings on the wirings.
- Ensure they are legible and intact. Faded or damaged labels can make it challenging to identify different components, hindering troubleshooting efforts.
Dust Off Visible Debris
- Gently dust off any visible debris on the thermostat wirings. Accumulated dust can insulate the wires, affecting their ability to conduct heat efficiently.
Use Compressed Air for Precision Cleaning
- For a more thorough cleaning, employ compressed air to blow away dust and debris from hard-to-reach areas. This ensures a clean and unobstructed pathway for the wirings.
Inspect Surrounding Areas for Potential Hazards
- Check the surroundings of the thermostat wiring for potential hazards such as moisture, pests, or other contaminants. Eliminate any threats that could compromise the integrity of the wirings.
Verify Thermostat Settings
- Confirm that your thermostat settings align with your comfort preferences. Incorrect settings can lead to unnecessary strain on the wirings and impact the overall efficiency of the heat pump.
Check for Temperature Variances
- Assess if there are significant temperature differences between the thermostat reading and the actual room temperature. If inconsistencies persist, it may indicate a need for recalibration.
Investigate System Delays
- Pay attention to any delays in the heating system’s response to thermostat adjustments. Delays can indicate underlying issues in the wirings or the heat pump itself, requiring further investigation.
Conclusion
Navigating the intricacies of heat pump thermostat wiring is crucial for optimizing the performance of your heating and cooling system. Whether you choose a DIY approach or opt for professional assistance from Einstein Heating and Cooling, ensuring precision and adherence to guidelines will result in a well-functioning heat pump system.
