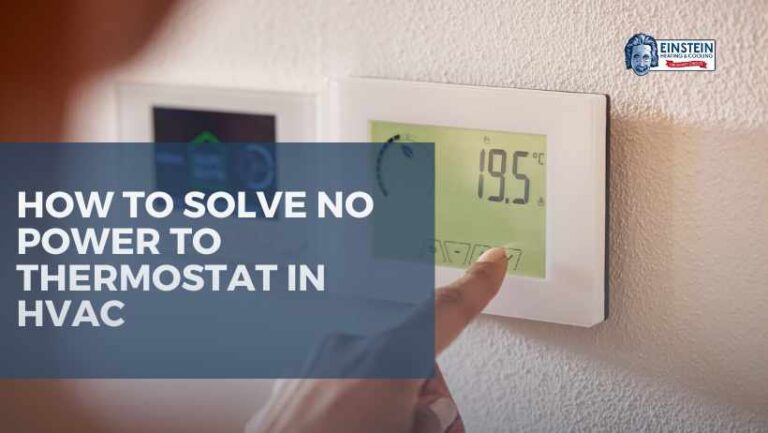
A lack of power to your thermostat can disrupt your heating or cooling system, leaving you in discomfort. Before you call a professional, it’s worth exploring some common reasons behind this issue. In this comprehensive guide, we’ll break down the factors that may contribute to “no power to thermostat” situations and provide practical solutions.
10 Solutions When There Is No Power To Thermostat
1. Check the Power Source
Circuit Breaker Issues
- Inspect your circuit breaker panel for any tripped breakers.
- Reset any tripped breakers related to the HVAC system.
- If the breaker trips again, there may be an underlying electrical issue that requires professional assistance.
Fuse Inspection
- If your thermostat is powered by a fuse, check for a blown fuse.
- Replace the fuse with one of the same rating if necessary.
- If the fuse blows again, consult with an electrician to address potential wiring problems.
Battery Status
- Some thermostats rely on batteries for power. Check if the batteries need replacement.
- Install fresh batteries and see if the thermostat powers up.
- If battery replacement doesn’t solve the issue, move on to other troubleshooting steps.
2. Wiring and Connections
Loose Wires
- You might be thinking, “Why is there no power to my thermostat?” when it could be just loose wires. Inspect the thermostat wiring for any loose or disconnected wires.
- Reattach any loose wires to their designated terminals.
- Ensure all connections are secure and tight.
Corroded Contacts
- Check for corrosion on the thermostat wiring terminals.
- Clean the contacts with a small wire brush or a similar tool.
- If corrosion is extensive, consider replacing the affected wires.
Wiring Compatibility
- Verify that the thermostat wires are compatible with the heating and cooling system.
- Consult the thermostat and HVAC system manuals to ensure proper wiring.
- Incorrect wiring can lead to power issues and malfunctions.
3. Thermostat Settings
Mode Selection
- Ensure the thermostat is set to the correct mode (heating, cooling, or automatic).
- Incorrect mode selection may result in the thermostat not receiving power.
Temperature Settings
- Confirm that the temperature settings on the thermostat are appropriate.
- Extreme temperature settings may cause the HVAC system to remain inactive.
Programmable Settings
- Review any programmed schedules or settings in your thermostat.
- Incorrect programming might lead to the thermostat not operating as expected.
- Reset the thermostat to its default settings if necessary.
4. Faulty Thermostat
Age and Wear
- Consider the age of your thermostat. If it’s old, it might be experiencing wear and tear.
- Older thermostats may need replacement to restore proper functionality.
- Upgrading to a modern, programmable thermostat could improve energy efficiency.
Internal Components
- Inspect the thermostat’s internal components for signs of damage.
- If any components look damaged, such as the display or buttons, a replacement may be necessary.
- Internal faults can prevent the thermostat from receiving power.
Professional Inspection
- If you’ve checked all the above factors and still have no power to your thermostat, consult with a professional HVAC technician.
- Professionals have the expertise to diagnose complex electrical issues and can recommend the appropriate solutions.
- Avoid attempting complex repairs without the necessary knowledge to prevent further damage.
5. Environmental Factors
Extreme Temperatures
- If your thermostat has no power, extreme temperatures may be the cause. Extremely high or low temperatures can impact the performance of electronic devices.
- Ensure the thermostat is not exposed to direct sunlight, drafts, or extreme cold.
- Consider relocating the thermostat to a more suitable location.
Dust and Debris
- Accumulated dust and debris can affect the thermostat’s internal components.
- Gently clean the thermostat using a soft brush or compressed air.
- Regular cleaning helps maintain optimal performance.
Humidity Levels
- Excessive humidity can damage electronic components.
- Check the humidity levels in the thermostat’s vicinity.
- Use a dehumidifier if needed to create a more stable environment.
6. Smart Thermostat Considerations
Connectivity Issues
- For those using smart thermostats, connectivity issues may be a factor.
- Check the Wi-Fi connection to ensure the thermostat can communicate with the HVAC system.
- Reboot your Wi-Fi router and, if necessary, reconnect the thermostat to the network.
Firmware Updates
- Ensure your smart thermostat’s firmware is up-to-date.
- Manufacturers often release updates to address bugs and improve overall performance.
- Regularly updating the firmware can resolve compatibility issues and enhance functionality.
App and Cloud Access
- Verify if the thermostat’s mobile app or cloud service is operational.
- An issue with remote access might not directly affect power, but it can impact your ability to control the thermostat.
- Troubleshoot the app or cloud service and contact the manufacturer’s support if needed.
7. External Interference
Electronic Devices
- Electronic interference from nearby devices may disrupt the thermostat’s operation.
- Keep electronic devices like cordless phones and routers away from the thermostat.
- Consider relocating the thermostat or devices causing interference.
Nearby Construction
- If there is ongoing construction or renovation near your home, vibrations and electrical interference could affect the thermostat.
- Temporarily turn off the HVAC system during intense construction periods and resume normal operation afterward.
Radio Frequency Interference (RFI)
- RFI from nearby sources can impact thermostat signals.
- Identify potential sources of RFI, such as radios or electronic devices.
- Minimize exposure to RFI by adjusting the thermostat’s location or shielding it from interfering devices.
8. Power Outages and Surges
Power Outages
- A recent power outage may have disrupted the thermostat’s power supply.
- Check if other electronic devices in your home are functioning normally.
- Reset the thermostat after a power outage to restore normal operation.
Surge Protection
- Power surges can damage electronic components, including those in the thermostat.
- Install surge protectors on HVAC circuits to safeguard the thermostat from sudden voltage spikes.
- Consider whole-home surge protection for comprehensive coverage.
Unstable Power Supply
- Fluctuations in power supply can affect thermostat performance.
- Consult with an electrician to assess and stabilize your home’s power supply.
- Stabilizing power can prevent potential damage to sensitive electronic components.
9. User Manual Reference
Manufacturer Guidelines
- Refer to the thermostat’s user manual for specific troubleshooting thermostat steps recommended by the manufacturer.
- Follow the manufacturer’s guidelines for resetting or troubleshooting power-related issues.
- Check for any warranty information that may cover replacement or repairs.
Customer Support
- If you’ve exhausted all troubleshooting options, reach out to the thermostat manufacturer’s customer support.
- Customer support can provide guidance based on your specific thermostat model and assist in diagnosing and resolving issues.
- Provide detailed information about the problem and any steps you’ve already taken for efficient assistance.
10. Regular Maintenance
Periodic Inspections
- Schedule regular inspections of your thermostat and HVAC system.
- Identify and address issues promptly to prevent them from escalating.
- Routine maintenance can extend the lifespan of your thermostat and ensure optimal performance.
Professional Maintenance
- Consider hiring a professional HVAC technician for annual maintenance.
- Professionals can identify potential problems before they cause major disruptions.
- Regular servicing enhances system efficiency and reduces the likelihood of thermostat issues.
Furnace Thermostat Maintenance
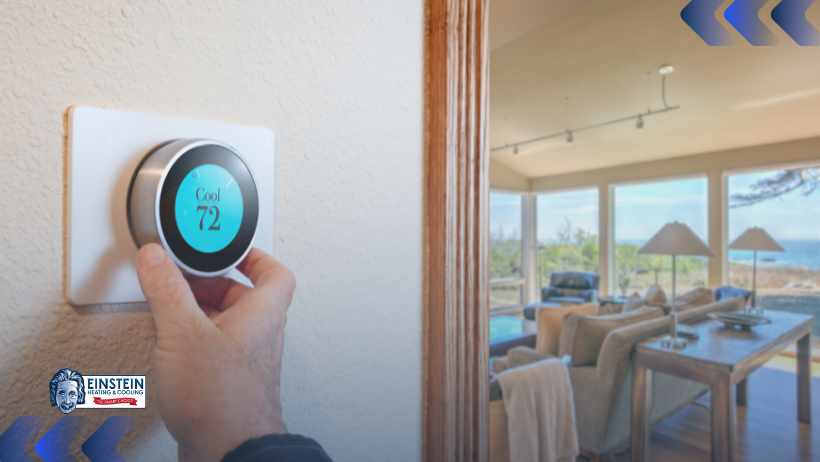
1. Location Matters
When it comes to furnace thermostat maintenance, the location of the thermostat is a crucial aspect. It directly impacts its accuracy and efficiency. Follow these steps to ensure the thermostat is in an optimal location:
Positioning for Accuracy
Make sure the thermostat is placed away from heat sources, drafts, and direct sunlight. These factors can lead to inaccurate temperature readings, causing the furnace to overwork or underperform.
Ideal Height
Install the thermostat at an average eye level for accurate temperature detection. This prevents the thermostat from sensing the temperature at ground level, leading to imprecise readings.
2. Regular Calibration
Calibrating the furnace thermostat is essential to guarantee precise temperature control. Over time, thermostats may deviate from their original settings. Follow these steps for effective calibration:
Temperature Test
If your thermostat has no power, check your system’s calibration. Use a separate thermometer to measure the room temperature accurately. Compare this reading with the thermostat’s display to identify any discrepancies.
Calibration Adjustment
If there is a significant difference, consult the thermostat manual to adjust the calibration settings. This ensures the thermostat accurately reflects the room temperature. If these steps still do not work, contact an experienced HVAC technician.
3. Cleaning for Performance
Regular cleaning is imperative for the optimal functioning of your furnace thermostat. Dust and debris accumulation can hinder its performance. Follow these steps to maintain a clean thermostat:
Power Off
Before cleaning, turn off the power to the furnace to ensure safety. Locate the thermostat cover and remove it carefully.
Gentle Cleaning
Use a soft brush or compressed air to gently remove dust from the interior components of the thermostat. Be cautious not to damage any delicate parts during the cleaning process.
Exterior Wipe
Clean the thermostat cover with a mild cleaning solution and a soft cloth. Ensure that no residue is left behind, and reattach the cover securely.
4. Battery Check
Many thermostats operate on batteries, and their status significantly influences the device’s functionality. Follow these steps to ensure your thermostat’s battery is in good condition:
Battery Replacement
If your thermostat uses batteries, replace them regularly, even if they seem functional. This preventive measure ensures uninterrupted operation.
Low Battery Indicators
Keep an eye on low battery indicators on your thermostat. Replace the batteries promptly to avoid disruptions in heating during colder months.
5. Software Updates
While not applicable to all thermostats, some smart thermostats may require occasional software updates. These updates address bugs, enhance performance, and introduce new features. Follow these steps to ensure your thermostat’s software is up-to-date:
Manufacturer Guidelines
Refer to the manufacturer’s guidelines to understand the update process specific to your thermostat model. Follow the instructions carefully to avoid any issues.
Connectivity Check
If your thermostat is connected to a smart home system, ensure that it is connected and communicating seamlessly. Troubleshoot any connectivity issues promptly.
6. Seasonal Programming Adjustments
Adjusting the thermostat’s programming according to the seasons is crucial for both comfort and energy efficiency. Follow these steps to optimize your thermostat settings for each season:
Winter Settings
During winter, program the thermostat to lower the temperature when you are away or asleep to save energy. Set comfortable temperatures for when you are active at home. Make sure to follow good maintenance practices to keep your HVAC system running smoothly.
Summer Settings
In summer, adjust the thermostat to raise the temperature when you are away or asleep. Optimize cooling settings for times when you are at home and active.
7. Professional Inspection
While many maintenance tasks can be handled by homeowners, a periodic professional inspection ensures thorough maintenance and addresses potential issues. Follow these steps for a professional check-up:
Schedule Regular Inspections
Consult with a qualified HVAC technician to schedule routine inspections of your furnace thermostat. Professionals can identify and address issues that may go unnoticed during regular maintenance.
Component Evaluation
During professional inspections, technicians can evaluate the thermostat’s internal components and address any potential wear or malfunction.
Conclusion
In conclusion, troubleshooting the no power to thermostat problem requires a systematic approach to identify and address potential issues.
Regular maintenance from professionals at Einstein Heating and Cooling and adherence to manufacturer guidelines play a crucial role in ensuring the longevity and reliability of your thermostat. A well-maintained thermostat not only provides comfort but also contributes to energy efficiency and the overall health of your HVAC system.
