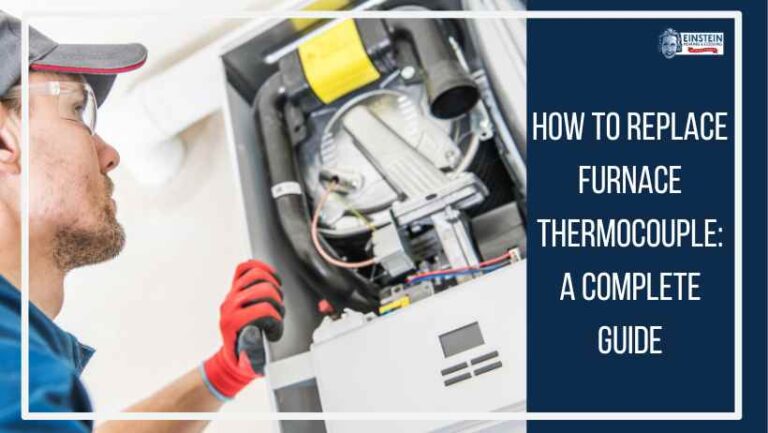
As winter approaches, the functionality of your furnace becomes paramount for maintaining a comfortable and warm home environment. Among the various components ensuring its proper operation, the furnace thermocouple plays a critical role. In this complete guide, we will explore how to replace furnace thermocouples, providing insights into their functionality, and essential maintenance practices to keep your furnace operating at peak performance.
What is a Thermocouple?
At its core, a thermocouple is a temperature sensor crafted from two distinct metals joined at one end. This junction produces a voltage that varies with temperature fluctuations. In the context of a furnace, the thermocouple’s primary role is to act as a sentinel, monitoring the pilot flame’s presence and serving as a safety switch. Its ability to generate a small electric current in response to heat ensures that the gas valve remains open, facilitating the controlled combustion necessary for heating. Simultaneously, its role as a safety device becomes evident when the pilot light is extinguished, swiftly closing the gas valve to avert potential hazards.
Signs of a Failing Thermocouple
Identifying indications of a malfunctioning thermocouple is pivotal in averting unexpected furnace breakdowns.
Pilot Light Won’t Stay Lit:
One of the primary indicators of a failing thermocouple is the inability of the pilot light to stay lit.
If the pilot light consistently extinguishes shortly after ignition, it suggests that the thermocouple may not be generating the necessary electric current to keep the gas valve open.
Frequent Furnace Shutdowns:
A malfunctioning thermocouple can lead to frequent and unexpected shutdowns of the furnace.
If you notice your furnace turning off intermittently without an apparent reason, it could be a sign that the thermocouple is not effectively communicating with the gas valve, causing it to close prematurely.
Inadequate or No Heat Production:
Another noticeable sign is a lack of heat production even when the furnace is turned on.
If the thermocouple fails to maintain a continuous electric current, the gas valve may close, preventing the burner from igniting and resulting in insufficient or no heat output.
Unusual Pilot Flame Behavior:
A failing thermocouple can cause irregularities in the pilot flame.
Observing a weak or flickering pilot flame, or one that appears discolored, may indicate that the thermocouple is not effectively responding to the heat from the flame.
Difficulty in Ignition:
A deteriorating thermocouple might lead to difficulties in igniting the furnace.
If you find that the furnace requires multiple attempts to start, it could be a signal that the thermocouple is not generating a robust current to facilitate proper ignition.
Delayed Ignition Time:
When the time between turning on the furnace and the actual ignition of the burner becomes noticeably extended, it could be attributed to a weakening thermocouple.
A healthy thermocouple should promptly signal the gas valve to open, allowing for quick ignition.
Corrosion or Rust on the Thermocouple:
Physical examination of the thermocouple is crucial. Corrosion or rust on the surface of the thermocouple may indicate wear and tear.
The accumulation of such damage can impede the thermocouple’s ability to generate an adequate electric current.
Audible Clicking Sounds:
Sometimes, a failing thermocouple can cause audible clicking sounds within the furnace.
This may indicate irregular functioning of the gas valve as the thermocouple struggles to maintain a consistent electric current.
Visible Damage or Wear:
Direct observation of the thermocouple for visible signs of damage or wear is paramount.
If there are visible cracks, breaks, or significant deterioration, it’s a clear indication that the thermocouple needs prompt attention.
Should any of these symptoms manifest, prompt consideration for thermocouple replacement is warranted.
Steps to Replace Furnace Thermocouple
Embarking on the journey to replace a furnace thermocouple may seem intimidating, but armed with the right tools and a systematic approach, it transforms into a manageable do-it-yourself task. The following step-by-step guide aims to demystify the process:
Gather Your Tools
Before commencing the replacement procedure, assemble the necessary tools. A screwdriver, adjustable wrench, and potentially a nut driver are typically required. Additionally, ensure you possess a replacement thermocouple that aligns with your furnace’s specifications.
Turn Off the Gas and Power
Safety takes precedence. Initiate the process by shutting off the furnace’s gas supply. Locate the gas valve – usually near the furnace – and set it to the “off” position. Simultaneously, deactivate the furnace’s power at the electrical panel to avert potential electrical hazards.
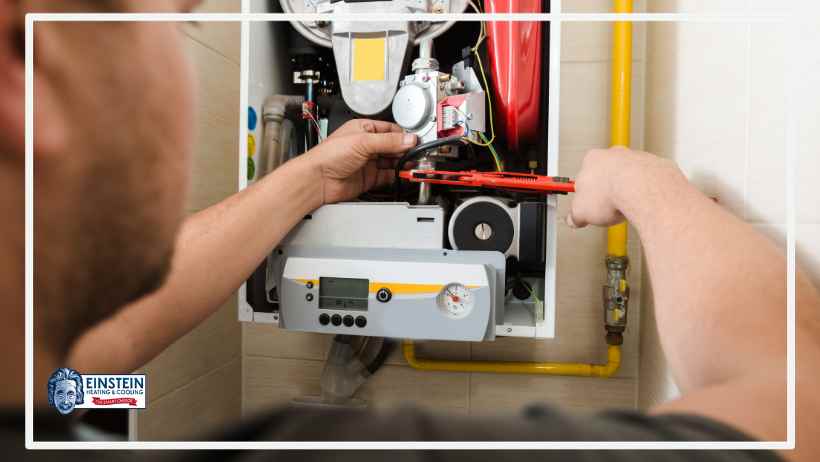
Locate the Thermocouple
Identifying the thermocouple’s location is pivotal. Typically positioned near the pilot light, the thermocouple presents itself as a small metal rod, with one end immersed in the pilot flame and the other connected to the gas valve.
Remove the Old Thermocouple
Utilize a screwdriver or nut driver to detach the thermocouple from both the pilot assembly and the gas valve. Pay careful attention to the thermocouple’s routing to facilitate the seamless installation of the replacement.
Install the New Thermocouple
Gently introduce the new thermocouple, ensuring it occupies the same position as its predecessor. Secure it to both the pilot assembly and gas valve using the appropriate tools, confirming the tightness and security of all connections.
Test the Pilot Light
With the new thermocouple in place, reinstate the gas supply and reignite the pilot light. Observe the flame for a few minutes, confirming the proper functionality of the thermocouple.
Restore Power and Monitor
Bring the furnace back to life by switching the power on at the electrical panel. Vigilantly monitor the furnace’s operation to ensure the ignition and heat production align with expectations. Successful completion of these steps signifies a triumphant thermocouple replacement.
Maintenance of Furnace Thermocouple
Proactive maintenance stands as the cornerstone for elongating the thermocouple’s lifespan and guaranteeing the reliability of your heating system. Embrace the following essential maintenance tips:
Regular Cleaning
Dust and debris pose potential threats to the thermocouple’s performance. Periodically cleanse the thermocouple in your gas furnace using a soft brush to eliminate any accumulated buildup. Simultaneously, ensure the pilot light area remains unobstructed.
Inspection for Wear and Tear
Routine inspections are imperative to identify signs of wear or damage on the thermocouple. The emergence of corrosion, rust, or other anomalies should prompt consideration for thermocouple replacement before a complete failure occurs.
Check for Proper Positioning
Verify the correct positioning of the thermocouple within the pilot flame. Any misalignment might compromise its ability to generate the requisite voltage, potentially jeopardizing the gas valve’s proper functioning.
Test the Safety Mechanism
Conduct periodic tests on the safety mechanism by deliberately extinguishing the pilot light. Observe whether the gas valve promptly closes as a response. Failure to do so may indicate a thermocouple issue necessitating attention.
Professional Inspection
While certain maintenance tasks fall within the purview of homeowners, an annual professional inspection remains advisable. Trained technicians in Bend, Oregon possess the expertise to conduct a comprehensive assessment of your furnace, including the thermocouple, addressing potential issues before they escalate.
Troubleshooting Common Issues
Even with meticulous maintenance, challenges may arise. Familiarize yourself with common problems associated with furnace thermocouples and potential solutions:
Pilot Light Won’t Stay Lit:
- Issue: The pilot light consistently extinguishes shortly after ignition.
- Troubleshooting: Check for a dirty or misaligned thermocouple. If cleaning doesn’t resolve the issue, consider replacing the thermocouple following the replacement steps outlined earlier.
Weak or Intermittent Flame:
- Issue: The pilot flame is weak or flickers intermittently.
- Troubleshooting: Clean the thermocouple to ensure it is not obstructed by debris. Confirm proper positioning in the pilot flame. If issues persist, a replacement may be necessary.
Furnace Shuts Off Intermittently:
- Issue: The furnace frequently shuts off unexpectedly.
- Troubleshooting: This could be due to a malfunctioning thermocouple or a problem with the gas valve. A professional inspection is advised to diagnose and address the underlying issue.
Inadequate or No Heat Production:
- Issue: The furnace fails to produce sufficient heat or none at all.
- Troubleshooting: Ensure the pilot light is lit and stable. If the thermocouple is not generating a consistent electric current, follow the replacement steps or consult a professional.
Unusual Pilot Flame Behavior:
- Issue: The pilot flame appears discolored or exhibits irregularities.
- Troubleshooting: Check for any obstructions or impurities affecting the pilot flame. If the issue persists, it may indicate a thermocouple problem that requires attention.
Difficulty in Ignition:
- Issue: The furnace requires multiple attempts to ignite.
- Troubleshooting: Clean the thermocouple to ensure optimal heat absorption. If ignition issues persist, it may be indicative of a weakening thermocouple that might need replacement.
Delayed Ignition Time:
- Issue: The time between turning on the furnace and burner ignition is prolonged.
- Troubleshooting: Ensure the thermocouple is properly positioned and generating a sufficient electric current. If delays persist, consider a replacement to restore prompt ignition.
Corrosion or Rust on the Thermocouple:
- Issue: Visual inspection reveals corrosion or rust on the thermocouple.
- Troubleshooting: Clean the thermocouple carefully to remove surface corrosion. However, if the corrosion is extensive, replacement is advisable to ensure optimal performance.
Audible Clicking Sounds:
- Issue: Clicking sounds are audible within the furnace during operation.
- Troubleshooting: Investigate the gas valve and thermocouple for irregularities. If clicking persists, consult a professional to diagnose potential issues with the gas valve or thermocouple.
Visible Damage or Wear:
- Issue: The thermocouple shows visible signs of damage or wear.
- Troubleshooting: Inspect the thermocouple for cracks, breaks, or significant deterioration. Replace the thermocouple if any visible damage is present.
Conclusion
By comprehending the thermocouple’s role, adhering to the correct replacement steps, and incorporating regular maintenance practices, you contribute to a reliable and efficient heating system. However, it’s important to acknowledge that furnace systems are complex, and some issues may require the expertise of professionals from Einstein Heating and Cooling.
Einstein Heating and Cooling brings a wealth of experience and technical proficiency to the table, ensuring that the heating system in your Bend home receives the attention it deserves. Proactive engagement with potential issues ensures your furnace operates seamlessly, providing a warm and comfortable haven during the coldest months of the year.