When it comes to installing a furnace and ductwork in your home, timing is a crucial factor. The duration of the installation process can vary based on several factors. In this blog post, we’ll explore the key elements that influence how to install furnace and ductwork in Bend, Oregon. From the type of furnace to the complexity of the duct system, each aspect plays a significant role in how long or how short the time frame is.
Factors to consider before furnace and ductwork installation
Before embarking on the installation of a furnace and ductwork system, it’s crucial to thoroughly assess various factors to ensure a successful and efficient heating solution for your home or space.
1. Assess Your Heating Needs
Understanding the specific heating requirements of your space is fundamental to selecting the right furnace and designing an effective ductwork system. Take into account factors such as:
- Climate: Consider the local climate conditions, as colder climates may require higher heating capacity.
- Square Footage: Calculate the total square footage that needs heating. This information will help determine the appropriate furnace size and the design of the ductwork system.
- Insulation: Assess the insulation levels in your home. Well-insulated spaces may require less heating capacity, affecting the choice of furnace.
2. Choose the Right Furnace
Selecting the appropriate furnace is a critical decision that influences the overall performance and efficiency of your heating system. Consider the following factors:
- Heating Capacity: Ensure the furnace’s heating capacity aligns with the calculated heating needs of your space. Oversized or undersized furnaces can lead to inefficiencies.
- Energy Efficiency Ratings: Look for furnaces with high Annual Fuel Utilization Efficiency (AFUE) ratings for gas furnaces or Heating Seasonal Performance Factor (HSPF) for heat pumps. Higher efficiency translates to lower energy consumption.
- Fuel Source: Decide on the fuel source for your furnace—common options include natural gas, electricity, or oil. Choose a fuel source that is readily available and cost-effective in your area.
3. Check Local Building Codes
Before diving into the installation process, familiarize yourself with the local building codes and regulations governing HVAC systems. Consider the following:
- Permits: Obtain any required permits for furnace and ductwork installation. Failure to do so may result in legal complications and fines.
- Code Compliance: Ensure that your installation adheres to local codes and regulations, covering aspects such as clearances, ventilation, and safety standards.
- Inspections: Be prepared for inspections by local authorities or building officials. Compliance with codes ensures the safety and legality of your installation.
4. Prepare the Workspace
Preparing the installation space is crucial for a smooth and safe installation process. Consider the following preparation steps:
- Clear Obstacles: Remove any obstacles or clutter from the installation area. This includes furniture, belongings, and any items that may impede the installation process.
- Ventilation: Ensure proper ventilation in the installation space. Good airflow is essential during the installation and for the safe operation of the furnace.
- Accessibility: Guarantee easy access to the furnace and ductwork components for future maintenance and repairs. Consider accessibility when choosing the installation location.
Furnace Installation Steps
Locate and Prepare the Furnace Area
- Choose a location central to the areas you intend to heat.
- Ensure adequate space around the furnace for easy access and maintenance.
- Verify that the installation area complies with local regulations and safety standards.
Install the Plenum and Transition
- Connect the furnace to the plenum using a transition piece.
- Use a high-quality sealant to secure joints and prevent air leakage.
- Insulate the plenum to enhance energy efficiency.
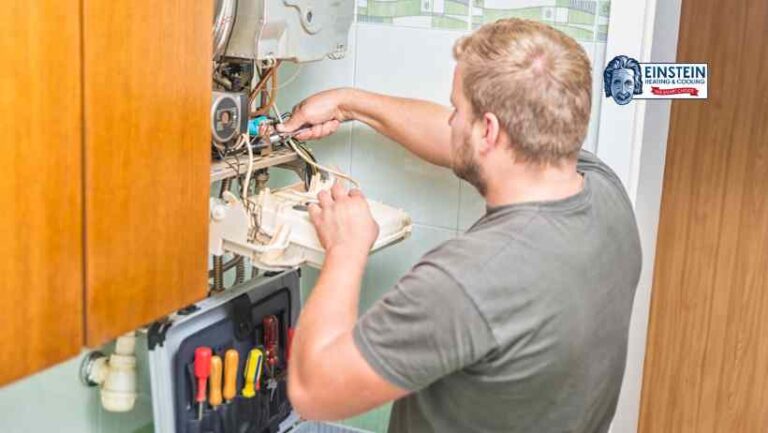
Connect the Fuel Source
- For gas furnaces, ensure a certified technician connects the gas line securely.
- Conduct a thorough inspection for gas leaks before proceeding.
- Electric furnaces require a dedicated electrical circuit; consult a professional for installation.
Install the Vent Pipe
- Attach the vent pipe to the furnace to expel combustion byproducts.
- Ensure the vent pipe complies with local codes and manufacturer specifications.
- Check for proper ventilation and insulation to prevent backdraft issues.
Connect the Electrical Wiring
- Carefully follow the manufacturer’s wiring diagram.
- Employ a licensed electrician for all electrical connections.
- Install a disconnect switch within sight of the furnace for safety during maintenance.
Secure the Furnace in Place
- Anchor the furnace securely to the floor using approved fasteners.
- Confirm stability by gently shaking the furnace; make adjustments as necessary.
- Follow the manufacturer’s guidelines for securing the furnace in mobile homes.
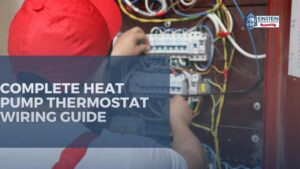
Install the Thermostat
- Choose an appropriate location for the thermostat, away from drafts and heat sources.
- Follow the manufacturer’s instructions for wiring and calibration.
- Consider upgrading to a programmable thermostat for energy efficiency.
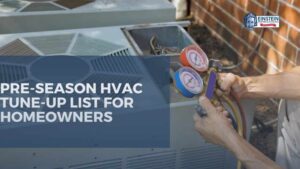
Test the System
- Run the furnace through a complete heating cycle.
- Monitor for any unusual noises, vibrations, or odors.
- Verify that the thermostat accurately controls the temperature.
Ductwork Installation Steps
Plan the Duct Layout
- Design a ductwork layout that minimizes bends and turns for efficient airflow.
- Consider the placement of registers to optimize heating distribution.
- Use Manual D duct design software or consult with a professional for accurate sizing.
Gather Necessary Materials
- Acquire high-quality ductwork materials, including rigid metal or flexible ducts.
- Ensure all components, such as elbows and connectors, meet industry standards.
- Obtain approved insulation material for ducts in unconditioned spaces.
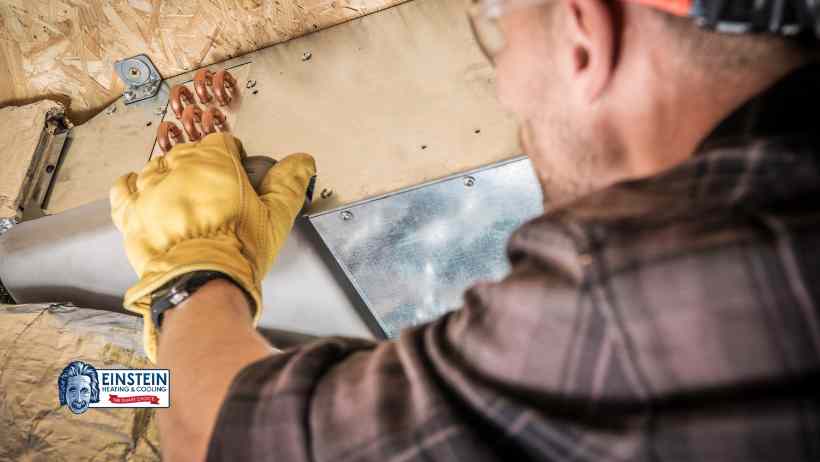
Install Supply Ducts
- Connect supply ducts to the plenum, ensuring a tight seal at all joints.
- Use metal-backed tape or mastic to seal joints and prevent air leakage.
- Insulate supply ducts to minimize heat loss and enhance energy efficiency.
Install Return Ducts
- Connect return ducts to create a balanced airflow system.
- Size return ducts appropriately based on the furnace capacity.
- Seal all connections with mastic or approved duct tape.
Seal and Insulate Ducts
- Seal all duct joints to prevent air leakage and maintain system efficiency.
- Apply insulation to ducts in unconditioned spaces, such as attics and crawl spaces.
- Consider adding insulation to ducts in conditioned spaces for energy savings.
Install Air Vents and Registers
- Position air vents strategically to ensure even distribution of heated air.
- Install adjustable registers in each room for personalized comfort.
- Consider dampers to control airflow and balance the system.
Balance the System
- Adjust dampers to achieve balanced airflow throughout the system.
- Use a handheld anemometer to measure airflow at each register.
- Fine-tune damper positions to address any discrepancies in airflow.
Perform a Final Inspection
- Inspect the entire ductwork system for proper installation.
- Check for any signs of air leakage or insulation issues.
- Ensure that all components meet local building codes and industry standards.
Timeframe to install furnace and ductwork
Understanding these steps and their respective estimated time frames is essential for homeowners looking to embark on this project. Furnace installation usually takes a few hours up to a day or two to finish, depending on the complexity of the task.
1. Preliminary Assessment (1-2 Hours):
The journey begins with a comprehensive assessment of your home’s heating needs. Professional technicians evaluate the square footage, insulation levels, and existing HVAC infrastructure.
2. Permit Acquisition (8-16 Hours):
Navigating local building codes and obtaining permits is a vital step in the installation process. Initiating the permit acquisition process early on can prevent potential delays.
3. Equipment Ordering (4-6 Hours):
Once the planning is complete and permits are secured, ordering the furnace and ductwork equipment is the next step. The technician assesses the best type of furnace to install then recommends it to the Bend homeowner for consideration. This phase accounts for product availability, customization considerations, and the logistics of ordering.
4. Preparation of the Installation Area (1-2 Hours):
Preparing the installation area involves more than just clearing space. It includes safety measures, structural adjustments, and coordination with other contractors if needed.
5. Ductwork Installation (3-4 Hours):
The installation of ductwork is a meticulous process, with the duration varying based on the complexity of the design and the size of the property. Skilled professionals strategically position and secure the ducts, ensuring optimal airflow.
6. Furnace Installation (2-4 Hours):
With the ductwork in place, the focus shifts to the installation of the furnace. This phase involves connecting the furnace to the ductwork, establishing electrical and fuel connections.
7. Inspection and Testing (1-4 Hours):
Before declaring the system ready for use, a thorough inspection and testing phase is crucial. This involves checking for leaks, ensuring proper airflow, and verifying the functionality of each component.
8. Final Adjustments and Client Orientation (1-2 Hours):
The installation team makes final adjustments based on inspection results. A client orientation phase ensures homeowners are well-versed in system operation and maintenance.
Factors affecting the timeframe for furnace installation
1. Type of Furnace
a. New Furnace Installation
- Embarking on the journey of installing a new furnace entails a more intricate process than a straightforward replacement. Configuring the system for the first time demands additional attention and meticulous planning.
- Contractors need to carefully set up the infrastructure to accommodate the specific requirements of the new furnace.
b. Replacement
- Opting for a furnace replacement, while generally a quicker process, is not devoid of its own set of considerations. The pre-existing infrastructure, such as ductwork and connections, facilitates a quicker installation.
- However, adjustments may still be necessary to align with the specifications of the new furnace.
2. Size and Capacity of the Furnace
a. Furnace Size
- The physical size of the furnace is a critical factor influencing installation time. Larger furnaces, with increased capacity, necessitate more intricate connections and adjustments.
- Smaller furnaces, on the other hand, are typically quicker to install, especially when they align seamlessly with the existing ductwork.
b. Heating Capacity
- The heating capacity of a furnace can impact installation time. High-capacity furnaces may require additional modifications to the ductwork to accommodate increased airflow.
- Ensuring compatibility with the existing system is essential to streamline the installation process.
3. Ductwork Complexity
a. Existing Ductwork
- Homes equipped with pre-existing ductwork enjoy a more straightforward installation process. The presence of infrastructure expedites the connection of the new furnace.
- Compatibility checks are crucial to ensure the seamless integration of the new furnace with the existing ductwork.
b. New Ductwork Installation
- When new ductwork is required, the installation timeline is significantly extended. This involves a comprehensive process of planning, designing, and implementing an entire ductwork system.
- Precision is key during this phase to ensure optimal functionality and efficiency.
c. Modifications to Existing Ductwork
- Even with existing ductwork, modifications may be necessary to align with the specifications of the new furnace.
- These adjustments, though crucial, can add time to the overall installation process.
4. Permitting and Inspection Procedures
a. Local Regulations
- Before the installation process begins, securing the necessary permits is imperative. The time required for obtaining permits varies based on local regulations and procedures.
- Compliance with these regulations is essential to ensure the safety and legality of the installation.
b. Inspection Timelines
- Post-installation inspections are a standard requirement to verify compliance with safety and performance standards.
- The availability of inspectors and the scheduling of inspections can influence the overall installation timeline.
5. Contractor Availability and Workforce
a. Contractor Schedule
- The availability of experienced HVAC contractors is a crucial factor in determining the scheduling of furnace installations.
- Securing a reliable contractor well in advance can contribute to a smoother and more timely installation. Einstein Heating and Cooling ensures that our HVAC technicians are competent, licensed, and experienced.
b. Workforce and Resources
- The number of technicians working on the installation project can impact the overall timeline. Sufficient workforce and resources are essential for an efficient installation.
- Adequate planning in this regard can help avoid unnecessary delays.
In conclusion
Installing a furnace and ductwork is a complex process that demands careful consideration at every stage. By following this comprehensive timeline, homeowners can navigate the installation process with confidence, ensuring a comfortable and energy-efficient home. Remember to prioritize safety, compliance, and professional expertise from Einstein Heating and Cooling to achieve the best results for your heating system.